Building and deploying the Front end of the Cloud Resume
Jumping into the scary world of AWS
Trying to create an AWS account the right way
Building and deploying the Front end of the Cloud Resume
This is the third article in my series "Learning AWS with the Cloud Resume Challenge." You can check out the previous post in this series here.
In this instalment, I will explain how I built and deployed the front end of the Cloud Resume on AWS. I will talk about the different AWS services I used and the challenges I encountered along the way.
If you just want to see the code, it is open sourced on GitHub here.
Building the Front End
The Cloud Resume Challenge requires creating a resume using HTML and styling it with CSS. Later on, we will also write some JavaScript Typescript to add a visitor counter.It has been a while since I built a website with plain HTML and CSS, so I was excited to dive back in.
I created a basic HTML, CSS, and TypeScript project using Vite.I chose Vite because I plan to use TypeScript for the visitor counter feature. As the browser does not understand TypeScript, we need to convert our TypeScript code to JavaScript through a build step.
Even if you decide to use plain JavaScript, I recommend still using Vite. It simulates real-world projects where the Continuous Integration (CI) process typically needs to build an application before deployment.
I spent a few minutes with the design for the resume, and this is what I came up with:
A simple one pager website.
A side note: CSS now has native support for selector nesting. I knew of this feature, but never used it before. It's really cool!
Deploying the resume to AWS S3 using the Console
The next step is to deploy the resume on AWS. There are several AWS services involved at this step:
-
AWS S3: This service will be used to store the HTML, CSS, and JavaScript files for the resume. While AWS S3 supports static website hosting, it does not support serving assets via HTTPS.
-
AWS CloudFront: This is a Content Delivery Network (CDN) that can be used to serve assets in S3 over HTTPS.
-
Amazon Certificate Manager (ACM): ACM will be used to manage SSL certificates to support HTTPS.
-
AWS Route 53: This service is used to manage domain names and redirects.
Essentially, I will host the assets on AWS using S3, serve them over HTTPS using CloudFront with an ACM SSL certificate, and connect everything to a custom domain using Route 53.
There are many online guides available on how to complete this step. I began with the official guide on AWS and supplemented it with a more comprehensive guide from Cloud is free. This guide is slightly superior to the official guide because it includes instructions for setting up custom domains with Route 53 and linking those domains to the S3 bucket.
I ran into some issues while attempting to purchase domains with Route 53. To resolve these issues, I had to contact support, which took approximately two days before I could successfully purchase the domain names.
After following the guides, I have successfully uploaded my cloud resume online. You can check it out here.
Starting from scratch with Terraform
Terraform is an Infrastructure as Code (IAC) tool that allows us to define cloud resources declaratively.
To get some hands on practice on IAC, I decided to convert all the cloud resources I provisioned manually in the last step to IAC. This task is also part of the cloud resume challenge, but it comes a bit later in the challenge. I chose to do it here to get early practice.
To get started with Terraform, I went straight to the website and completed the Official getting started guide. Once I became comfortable with the syntax, I read the first three parts of A Comprehensive Guide to Terraform series by Yevgeniy Brikman.
This guide is exceptionally well-written and although it took some time to read and digest the information, it was definitely worth it. It provided practical, hands-on instructions for using Terraform to provision AWS resources.
After reviewing those resources, I revisited the steps I had previously taken to manually provision the resources. I then tried to convert each step into Terraform code. This involved a considerable amount of googling and referencing the Terraform documentation, but I learnt a lot in the process.
You can view all the code for this in this GitHub repository. Each resource lives in its own folder, with some comments to make it self-explanatory.
Automating deployments with GitHub Actions
In the infrastructure/stage/website/main-s3.tf file we have a aws_s3_object defined:
  resource "aws_s3_object" "main_s3_bucket_files" {
    //copy all files and folders in the dist folder in the root of the project
    for_each     = fileset(local.build_dir, "**/*")
    bucket       = aws_s3_bucket.main_s3_bucket.id
    source       = "${local.build_dir}/${each.value}"
    key          = each.value
    source_hash  = filemd5("${local.build_dir}/${each.value}")
    content_type = lookup(local.content_types, regex("\\.[^.]+$", each.value), null)
  }
This essentially links to the local build directory and uploads all my assets to the S3 bucket every time I run terraform apply in the terminal. I decided to automate this using Github Actions.
Essentially, what I want is for any infrastructure changes to be automatically applied every time there is a merge to the main branch. This will ensure that our deployed site is updated.
You can find the GitHub Action workflow that achieves here. These actions make use of the following secrets:
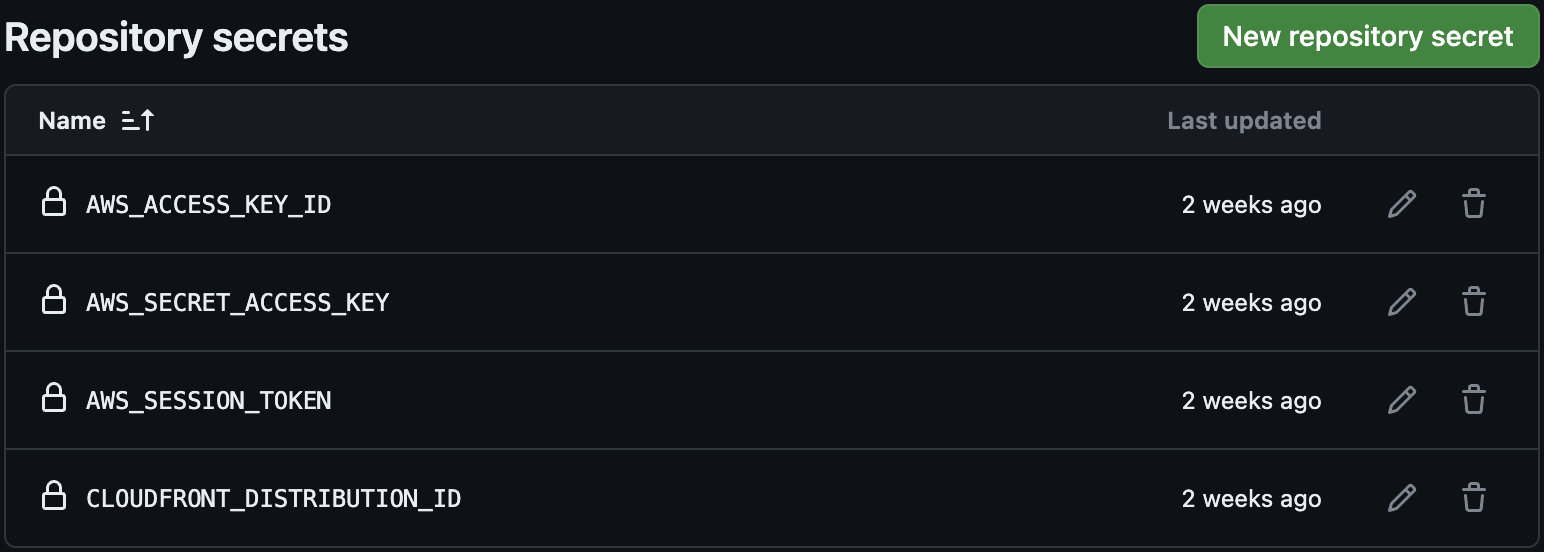
This workflow includes several automated steps that are executed for every pull request:
-
Build the static site.
-
Set up Terraform and the AWS CLI.
-
Run
terraform fmt -check,terraform validate, andterraform planfor each pull request. The GitHub API is used to add a comment to the pull request, including the output ofterraform plan. -
When pushing to the main branch, the action runs terraform apply to apply any changes to the resources. Additionally, the action clears the CloudFront cache to prevent outdated data.
One annoying thing that left with my current setup is AWS credentials rotation. Since we are using SSO, the AWS credentials have a short lifespan and expire approximately every 24 hours. Currently, I manually replace the credentials when they expire. But, I could definitely automate this process. I will save that for later.
Concluding Thoughts
I thoroughly enjoyed this part of the challenge, and it came at the right time too. At work, I had to provision some Terraform resources for an internal tool I was working on.
Completing this part of the challenge served as a good primer and made the task at work less daunting. Production Terraform code can be a bit more complex due to the need to support different environments and tenants, resulting in a lot folders.
In the next part of the series, we will focus on the backend development. I will build a visitor counter and a serverless API to store the number of visitors. This will involve working with AWS Lambda, DynamoDB, and API Gateway.
Thank you for reading, and I'll catch you in the next article.